If this is your first visit, be sure to
check out the FAQ by clicking the
link above. You may have to register
before you can post: click the register link above to proceed. To start viewing messages,
select the forum that you want to visit from the selection below.
Sorry for the delay, haven't had much time to get on here.
So here is the picture of the floor pan that I couldn't find; painted by the misses.
Once the floor was painted, we cleaned the sides, and starting insulation.
We used foil backed bubble wrap and recycled plastic insulation, and made a sandwich. So foil glued to panel, insulation on top, then sealed with another layer of foil and aluminium tape; should keep us nice and toasty.
This shows the idea.
Not much was done after that, between work and a new baby I only managed to sort the sliding door out. At the time it was more of a dragging door and this is probably why.
Had to do this to each bolt.
Maybe I didn't have to, but I really wanted them off.
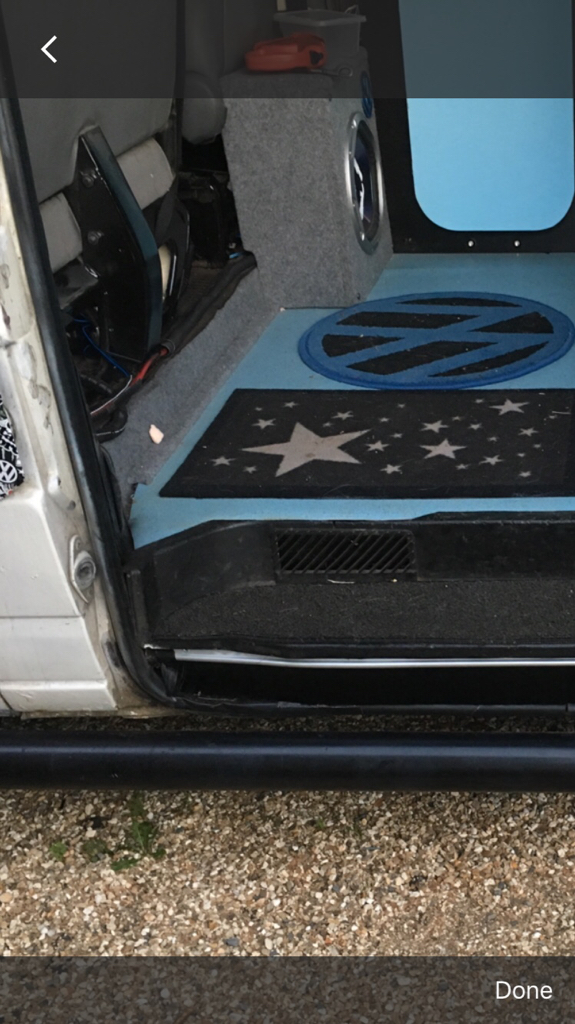
At the beginning of this year I started doing some bits that would make it look nicer, such as carpeting.
This is what the van is like now
I really need to tidy up that step into the cab, will probably do that this weekend.
Yesterday I pulled down the roof lining and started lining the roof with foil backed bubble wrap. That's all I'm going to do for now as there's not enough room for any insulation between the roof and the lining (pictures to come). We'll see how it is during spring as that's when I want to be able to camp by.
Regarding the floor, I've decided against any under ply insulation after talking to a local, and looking at hundreds of posts on forums.
The main thing we want to avoid is rot, so we're making sure there is enough airflow under the ply to dry out any condensation, and the insulation will come from vinyl and a carpet we're going to get made that we can leave down or roll up if we have to.
Haven't posted in a little bit so a couple for more updates for you guys
I was tired of looking at the state of the step where the bulk head used to be:
So I wire wheeled it again for good measure, primed it, and gave it a coat of paint:
(Sorry for the picture quality, most of what I do is afterwork when it's dark)
I then carpeted it up and it looks a lot nicer now.
After waiting and waiting for a good size offcut of the vinyl i wanted to come into my local carpet shop, I finally had something:
Once I got it in the van I spent a couple hours cutting and shaping it into every corner and across every curve until this:
Unfortunately, on the very last cut, I rushed it and absolutely ruined it..
So disappointed in myself, so been racking my brain trying to figure out how to hide/fix.
The options I've come up with are:
1) As it's a wooden slat design, cut a spare piece, shape it, cut the ruined piece off and drop the new on top with a tiny bit of sealent
2) By some laminate floor trim from B and Q or something and run that round the edge
3) Cover it with some carpet we were going to buy anyway
Honestly kicking myself. Any other suggestions would be very apprecaited
Here's a couple shots of the vinyl laid down though:
We’ve all done it, or something like it. The vinyl looks a bit like a colour called black ash. What you could do is get a small bit of an off cut, trim it to shape (it may pay to cut a section out of the actual floor covering to get a good cut, get small tin of black ash wood stain, peel back the vinyl, stain that bit of wood, and fit the new bit. Then have a few beers and forget all about it [emoji106]
Sent from The Alpine Express using Just T4s
Last edited by Snowrider; 31 January 2019, 06:32 AM.
Multivan2's have a 2 piece triangular shaped plastic vent that "hides" the step fitted to vans with the second heat exchanger.
Tidies the edging up nicely but not a cheap option by any means.
7D0 819 110 + Q70 or 01C or 9UW to denote colour
7D0 819 112C or C U71 to denote colou


 Tweet
Tweet


Comment